Hoarding can transform a cozy Seattle home into a cluttered nightmare, especially in neighborhoods like Queen Anne or Fremont, where space is at a premium. If you’re facing a hoarding situation, you’re not alone—it’s a complex issue affecting thousands in the Pacific Northwest. At Seattle Bio-Recovery, we specialize in compassionate, professional hoarding situation remediation, helping families reclaim their living spaces safely and efficiently. This guide outlines the essential steps for hoarding cleanup in Seattle, blending practical advice with local insights to make the process less overwhelming.
Whether it’s accumulated belongings blocking pathways in a Magnolia residence or biohazards lurking in an Everett property, proper cleanup requires expertise to avoid health risks like mold, pests, and pathogens. Let’s dive into the key steps to get started.
Understanding the Scope of Hoarding Cleanup
Before rolling up your sleeves, assess the situation thoroughly. Hoarding isn’t just about clutter—it’s often tied to emotional attachments, mental health challenges, and years of accumulation. In Seattle’s rainy climate, moisture can exacerbate issues, leading to mold growth or structural damage in older homes common in areas like Redmond.
Step 1: Safety First – Initial Assessment
The first essential step is a professional assessment. DIY attempts can expose you to hazards like sharp objects, chemicals, or even pathogen decontamination needs from spoiled food or waste. Contact Seattle Bio-Recovery at (206) 699-1422 for a free consultation. Our team evaluates the property’s size, clutter level (using tools like the Clutter Image Rating), and potential biohazards.
- Wear protective gear: If you must enter, use gloves, masks, and sturdy shoes to avoid injury.
- Document everything: Take photos for insurance or legal purposes, especially if eviction or family disputes are involved.
- Check for utilities: Ensure electricity and water are safe; Seattle’s building codes require this for habitability.
In Seattle, where homes often feature steep lots and narrow access, our trained technicians navigate these challenges seamlessly, preventing further damage from the city’s frequent drizzle.
Planning the Cleanup Process
Once assessed, create a detailed plan. Hoarding cleanup isn’t a weekend project— it can take days or weeks, depending on severity. Collaborate with mental health professionals if the hoarder is involved, as sensitivity is key.
Step 2: Sorting and Categorizing Items
Divide items into categories: keep, donate, recycle, or dispose. This methodical approach reduces overwhelm.
- Start small: Begin with one room, like the kitchen, to build momentum.
- Involve the hoarder: If possible, let them decide on valuables to foster trust.
- Local resources: Partner with Seattle’s donation centers like Goodwill or St. Vincent de Paul for usable items. For electronics, use e-cycle Washington programs.
Seattle Bio-Recovery integrates this sorting with blood spill cleanup protocols if biohazards are present, ensuring everything is handled hygienically.
Step 3: Safe Removal and Disposal
Disposal is where things get tricky. Seattle’s strict waste regulations mean you can’t just haul everything to the curb.
- Heavy lifting: Use dollies and teams for bulky items; avoid straining yourself.
- Hazardous waste: Segregate chemicals, batteries, or medical waste for proper disposal via King County facilities.
- Bulk pickup: Schedule Seattle Public Utilities’ bulk waste collection—advance notice is required.
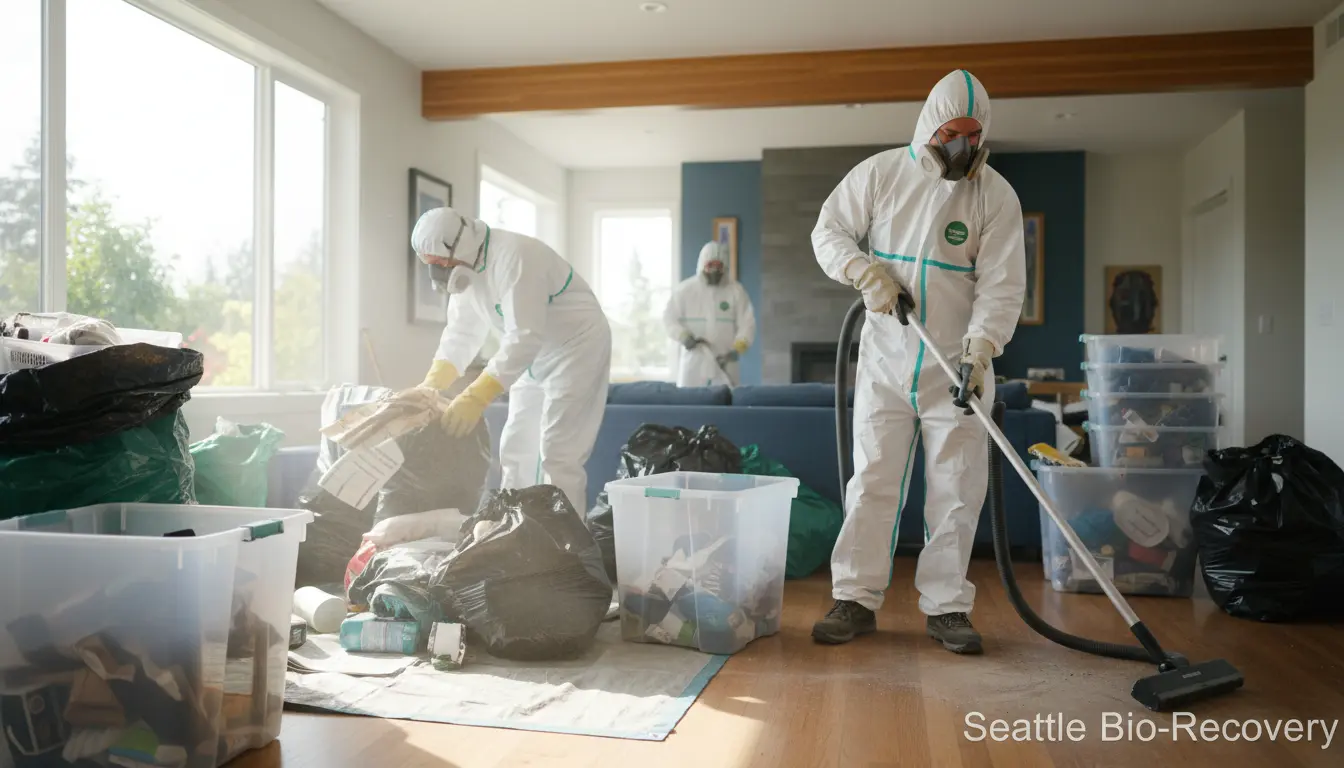
Our crime scene cleanup experts at Seattle Bio-Recovery are licensed for all disposal needs, including transporting biohazardous materials compliantly.
Addressing Health and Sanitation Concerns
Hoarding environments often harbor unseen dangers. Seattle’s damp weather amplifies mold and bacterial growth, making sanitation crucial.
Step 4: Deep Cleaning and Decontamination
After removal, clean every surface. This isn’t a simple wipe-down—it’s a thorough process.
- Ventilate: Open windows to air out, but watch for Seattle’s pollen seasons.
- Disinfect: Use EPA-approved cleaners for floors, walls, and HVAC systems.
- Pest control: Inspect for rodents or insects, common in cluttered spaces near Puget Sound.
For severe cases involving unattended death removal, our pathogen specialists ensure total decontamination, restoring safety.
Step 5: Structural Repairs and Restoration
Clutter can damage homes—warped floors from moisture, weakened walls from piles. In Seattle’s earthquake-prone area, structural integrity is vital.
- Inspect for damage: Check beams, wiring, and plumbing.
- Repair as needed: Patch holes, replace flooring, and repaint.
- Prevent recurrence: Install organizational systems like shelves in future-proof designs.
Seattle Bio-Recovery coordinates with local contractors familiar with Pacific Northwest building standards, getting your home back to pre-hoarding condition quickly.
Emotional and Legal Considerations in Seattle
Hoarding cleanup isn’t just physical—it’s emotional. In a city like Seattle, with its emphasis on community and mental health resources, seek support from organizations like the National Alliance on Mental Illness (NAMI) Puget Sound chapter.
Navigating Legal Aspects
If the property is rented, involve landlords per Seattle’s tenant laws. For family homes, consider conservatorship if incapacity is an issue. Always document to avoid disputes.
Local tip: Seattle’s Hoarding Task Force offers guidance—reach out for free advice tailored to King County.
FAQ: Common Questions About Hoarding Cleanup in Seattle
What are the health risks of untreated hoarding in Seattle?
Untreated hoarding can lead to mold proliferation due to our humid climate, pest infestations, and respiratory issues from dust. Biohazards like bacteria from waste pose infection risks—professional intervention is essential.
How long does hoarding cleanup typically take in a Seattle home?
It varies: a small apartment might take 2-3 days, while a large house in Fremont could require a week. Seattle Bio-Recovery provides timelines during assessment.
Is hoarding cleanup covered by insurance in Washington State?
Sometimes, if tied to a covered peril like fire damage. Homeowners or renters insurance may help; contact your provider. We assist with claims at Seattle Bio-Recovery.
Can I handle hoarding cleanup myself in Seattle?
For minor cases, yes, but major ones need pros due to hazards. DIY risks injury or fines for improper disposal—call (206) 699-1422 for safe handling.
How much does professional hoarding cleanup cost in Seattle?
Costs range from $1,000-$10,000+ based on size and hazards. We offer transparent quotes at Seattle Bio-Recovery, with no hidden fees.
Conclusion: Reclaim Your Space with Seattle Bio-Recovery
Hoarding cleanup in Seattle demands patience, expertise, and a compassionate touch. By following these essential steps—from assessment to restoration—you can transform a challenging situation into a fresh start. Don’t tackle it alone; the risks are too high in our unique urban environment.
Seattle Bio-Recovery is here to help with certified, discreet services across the city. Whether in Queen Anne or beyond, our team ensures safety and sensitivity every step. Contact us today at (206) 699-1422 or visit our site for a consultation. Take the first step toward a cleaner, healthier home—your Seattle sanctuary awaits.